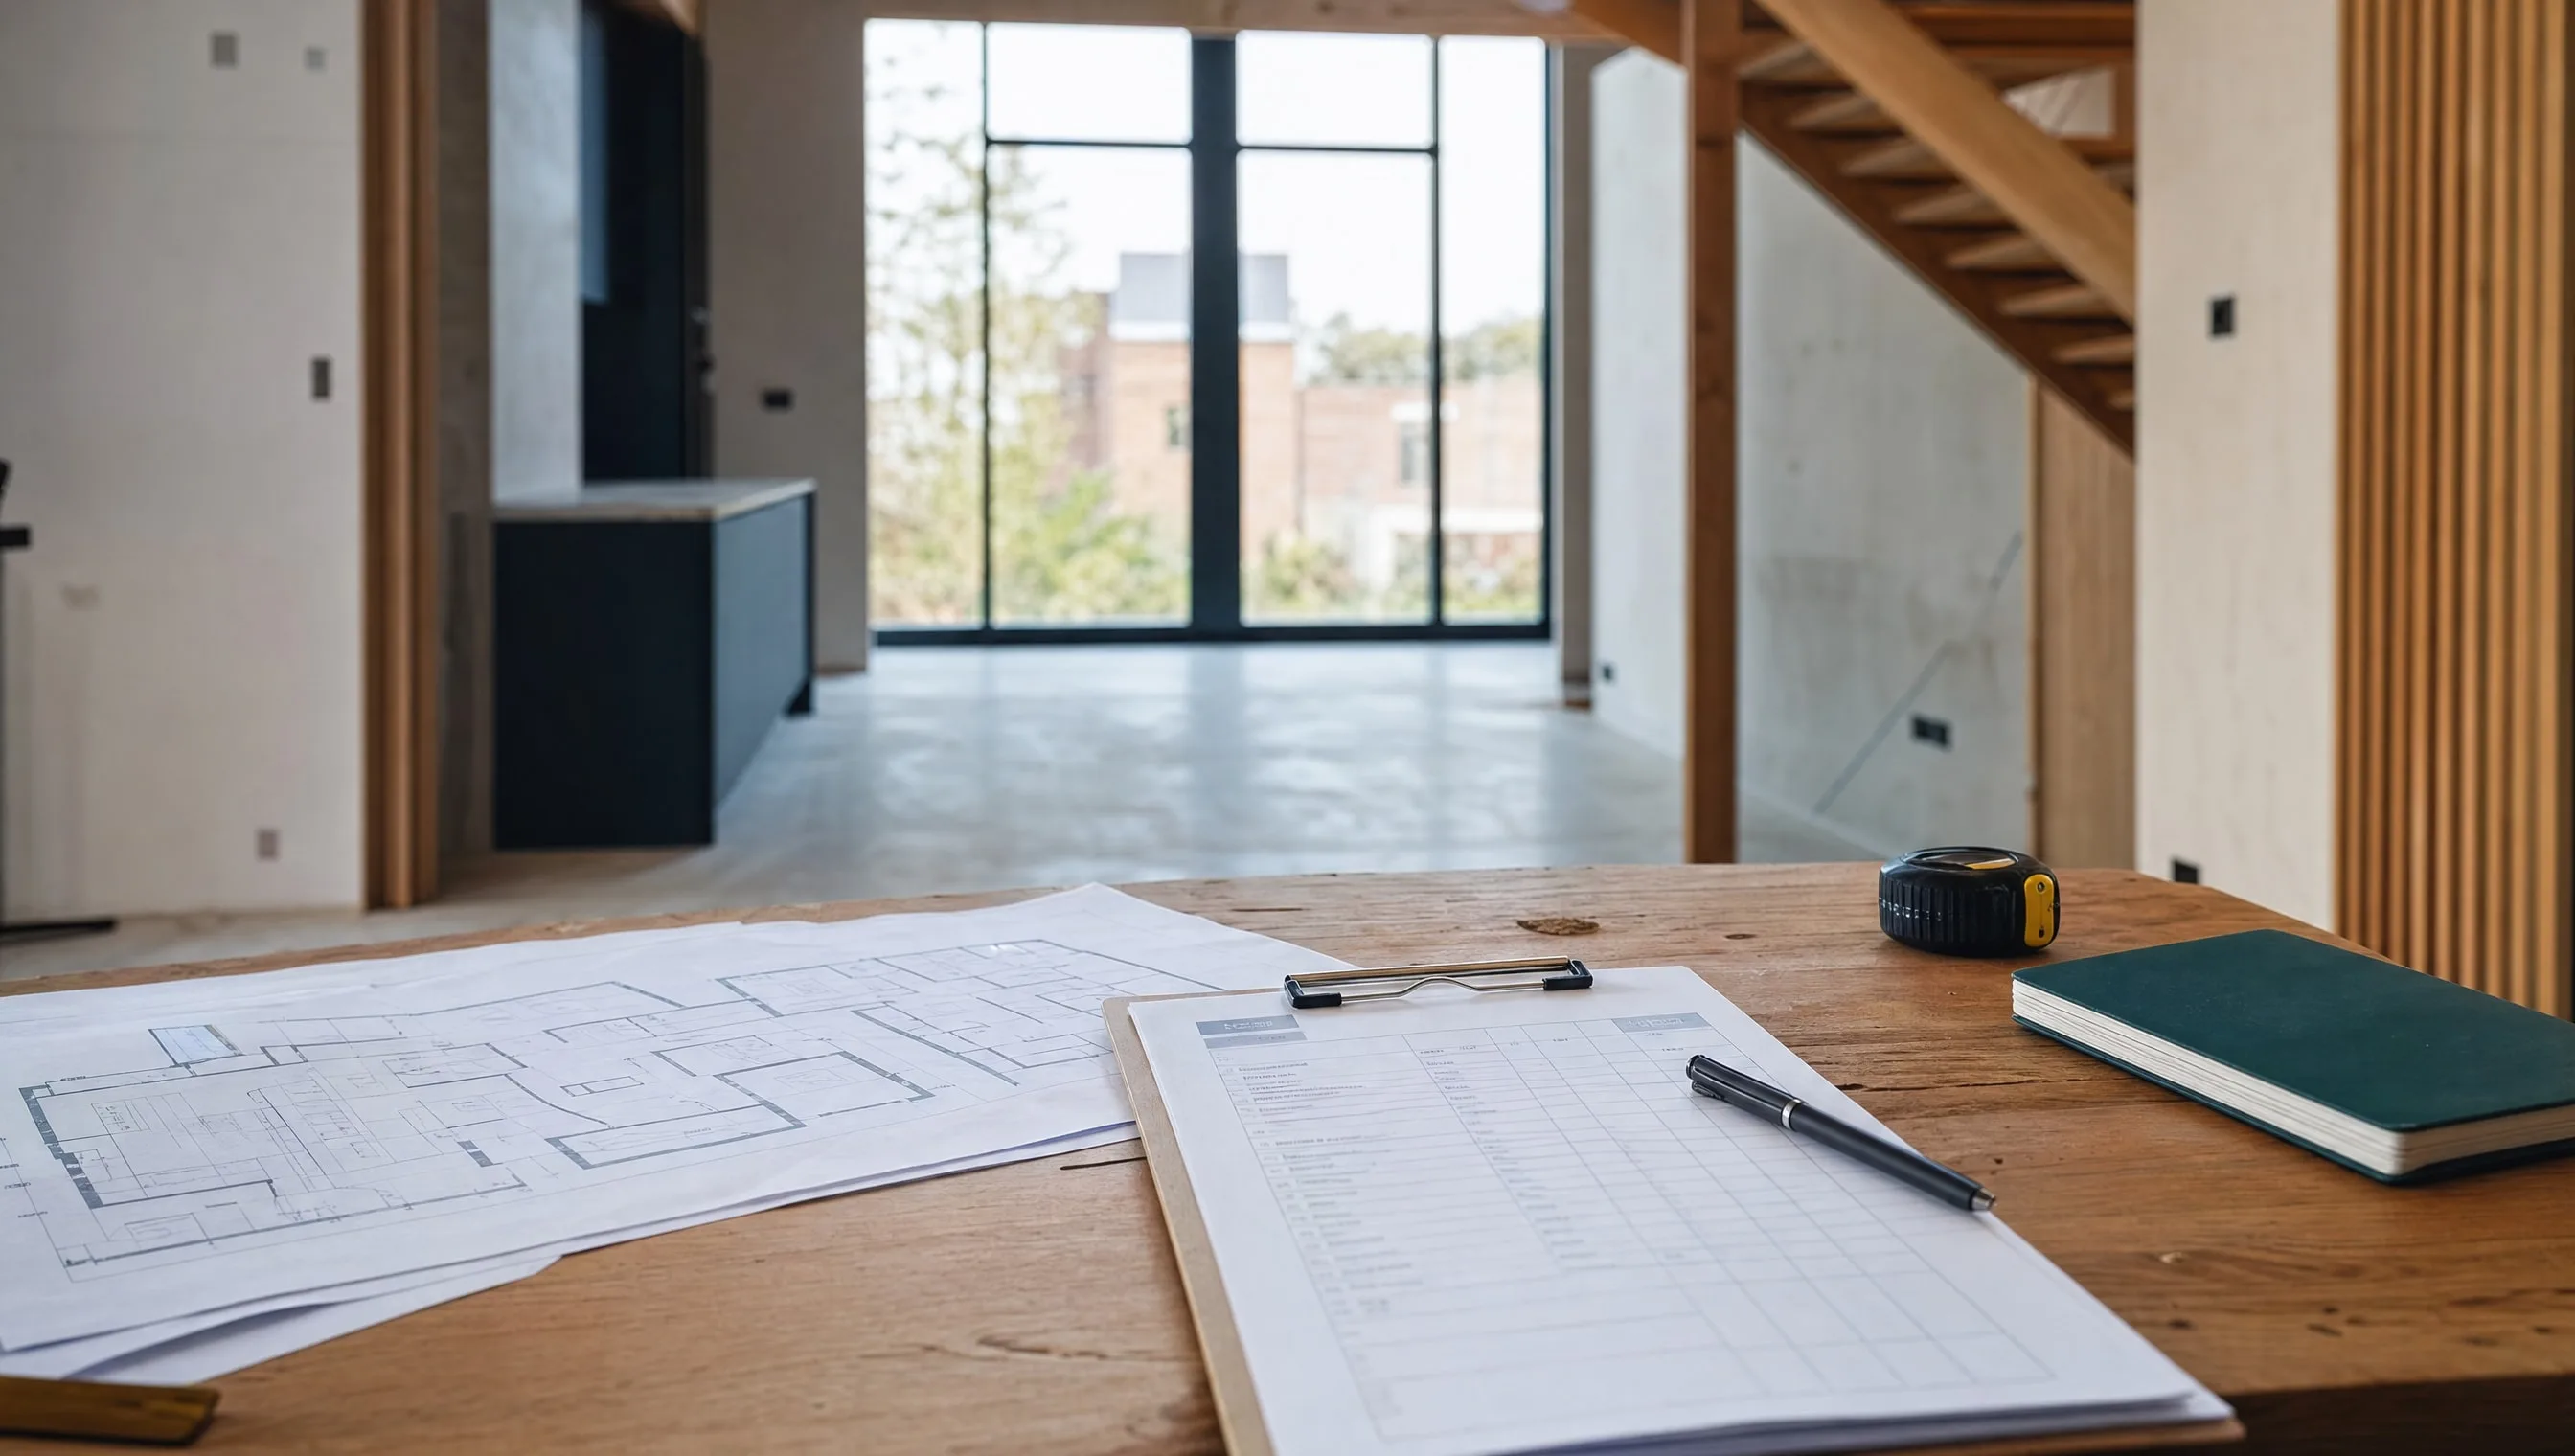
What is pre-completion and why is it strategic?
The pre-completion is a preliminary site visit, organised 1 to 3 weeks before the official provisional reception. Unlike provisional reception — a legal act governed by Article 9 of the Breyne Law — the pre-completion is purely preparatory: no legally enforceable minutes are signed, no risk transfer takes place. It nevertheless has considerable practical importance.
Its objective is threefold: (1) to allow the buyer to identify visible defects before the deadline, (2) to give the contractor a reasonable period to amicably correct these defects, (3) to arrive at the official reception with a property as close as possible to perfection — significantly reducing the number and severity of reservations in the minutes.
In practice, buyers who organise a structured pre-completion observe a 40 to 60% reduction in the number of reservations in the provisional reception minutes. It is a major leverage on the final quality of the home and on the timing of security-deposit release.
The right timing: when to schedule the pre-completion?
The optimal calendar depends on the actual progress of the site and the contractual delivery deadline.
3 weeks before official reception. This is the most common and effective window for a turnkey site. Main finishes are completed (paint, tiling, sanitary), equipment installed, certificates being finalised. The 3-week period gives the contractor time to correct 80% of detectable defects.
2 weeks before. Tight but realistic for minor defects (finishes, joints, paint touch-ups). Unsuitable for heavier defects (re-tiling, replacing equipment).
One week before. Too short except to verify progress and record the site condition. No serious correction possible.
Special case: mid-build pre-completion. Some vigilant buyers organise an interim visit as soon as the property is watertight (roof installed), to check the shell before it is covered by finishes. Valuable for spotting a structural or insulation defect that would later be invisible. See our page Site visit.
The method: inspection system by system
The classic mistake is to visit room by room in a disorganised way. The professional method inspects system by system — each trade is verified end-to-end before moving to the next.
Trade 1 — Shell and structure. External façades (cracks, joints, plaster), internal walls (flatness, cracks, tapping partitions by hand), floors (laser-level flatness, expansion joints), ceilings (cracks, flatness).
Trade 2 — Weatherproofing and roof. Roof (if accessible), ridge, gutters, downpipes, flat roofs, weatherproofing of upstands. Check the airtightness certificates (blower door < 6 m³/h.m² for new-build EPC).
Trade 3 — Windows and external joinery. Opening/closing all windows and doors, locking mechanisms, weather seals, glazing (scratches, defects), thresholds, weather flashings.
Trade 4 — Electricity. Panel (circuit breaker, earth, circuit identification), every switch and socket, earth-tested sockets (tester), exterior lighting, doorbell, intercom. Demand the signed OCT report (technical inspection body).
Trade 5 — Plumbing and sanitary. Open every tap at full flow, check drainage, check waste outlets, test the toilet flush, check silicone seals, check pressure and hot-water temperature.
Trade 6 — Heating and ventilation. Start the heating (temperature rise), thermostat responsiveness, test each radiator or supply vent, ventilation check (smoke test to verify airflow), noise level.
Trade 7 — Interior finishes. Paint (uniformity, touch-ups), tiles (joints, flatness, alignment), parquet (play, creaking), interior doors (alignment, closure, handles), skirting boards.
The 47-point checklist: structure and use
A professional checklist is the essential tool. Without it, the buyer inevitably forgets 30 to 40% of points to check. Our 47-point checklist — shared as a free download below — covers 4 broad categories:
- Documents and certificates (8 points) — EPC, AREI, airtightness, as-built plans, warranties
- Exterior and envelope (12 points) — Roof, façades, windows, weatherproofing, surroundings
- Interior and finishes (15 points) — Room by room with a photo of each defect
- Technical equipment (12 points) — Electricity, plumbing, heating, ventilation, security
Method of use. Print the checklist in 3 copies (you, the contractor, the expert if present). Tick each point during the visit. Photograph each defect with a reference (P1, P2, P3…) which will be carried over to the minutes. Date and sign at the end of the visit, even if the pre-completion has no legal value — this creates a trace usable in case of subsequent dispute.
Documents to demand before official reception
The pre-completion is also the opportunity to assemble the complete technical file of the property. Without these documents, you cannot properly sell, insure or resell the property.
Mandatory documents to demand at the pre-completion or at the latest at official reception:
- Final EPC certificate (based on actual measured performance, not just permit assumptions)
- AREI electrical inspection certificate issued by an approved body (Vinçotte, AIB-Vinçotte, BTV)
- Airtightness report (blower door test, required for new-build EPC since 2015)
- Gas inspection certificate (if gas installation)
- Boiler maintenance booklet and manufacturer warranty
- As-built plans (shell, electricity, plumbing, heating) — these plans represent the property as actually built, not as initially planned
- Technical manuals for all installed equipment (ventilation, boiler, integrated appliances, alarm, intercom)
- Manufacturer warranties (coverage, duration, activation conditions)
- Ten-year insurance certificate of the contractor (mandatory since Peeters-Borsus Act 2017)
- Urban planning compliance certificate (the property matches the permit issued)
If any of these documents is missing on the day of pre-completion, request it in writing and set a deadline before official reception. The absence of these documents is a legitimate ground for refusing provisional reception.
The expert’s role at pre-completion
Engaging an independent expert architect for the pre-completion is the most profitable investment of the entire new-build purchase process.
What the expert brings:
- A professional inspection methodology (detailed checklist, logical order, technical tests)
- Objective measurements (laser level for flatness, electrical tester, multimeter, tape measure)
- Knowledge of current standards (AREI, EPC, airtightness, accessibility)
- Contract expertise: they know what was foreseen in the specifications and what must be delivered
- A detailed and costed written report, usable as a basis for negotiation with the contractor
- A neutral stance towards the developer (unlike the project architect, who defends the builder’s interests)
Indicative cost of a pre-completion by an expert architect:
- 70-100 m² apartment: €350-500 excl. VAT
- 150 m² turnkey house: €500-700 excl. VAT
- Large villa or atypical property: €700-1,000 excl. VAT
To be weighed against the average gain: on a €380,000 new-build, the expert identifies on average €6,500 of defects not detected by a buyer alone. ROI is immediate.
“Engaging an expert for the pre-completion is granting yourself extra time to correct defects amicably — far more effective than managing 30 reservations in the provisional reception minutes.”
Edouard Hennin, expert architect
Preparing the pre-completion minutes
Even without legal value of its own, the pre-completion deserves written minutes. They serve as a reference for the official reception and as evidence in case of dispute.
Recommended structure of pre-completion minutes:
- Date, location, identity of attendees (buyer, contractor, expert if present)
- Description of the property and its general condition
- Numbered list of observed defects, with location and reference photo
- Correction schedule agreed with the contractor (deadline by default)
- Missing technical documents to be provided before official reception
- Scheduled date of the official provisional reception
- Signature of attendees
See our detailed template in Pre-completion minutes.
Conclusion
The pre-completion is the most neglected step of the new-build purchase process, yet the most profitable. Twenty days before D-day, it offers the last window to have defects corrected amicably, in constructive dialogue with the contractor. Those who skip this step arrive at provisional reception with 25 to 40 reservations in the minutes — those who prepare seriously have between 5 and 12.
Three reflexes: (1) schedule the visit 15-21 days before official reception, (2) use a structured checklist and a camera, (3) appoint an expert if the financial stakes justify it (> €250,000).